Updating Rover
Your LiDAR system's NavBox utilizes a software known as Rover to perform it's duties. This page describes how to upgrade the version of Rover on your NavBox.
The version of Rover on your NavBox must correspond to the version of SpatialExplorer that you run during data acquisition. For instance, if you want to use SpatialExplorer 7.0.8 for data collection in the field, your NavBox must have Rover 7.0.8 installed.
SpatialExplorer is backward compatible, meaning that you can view, edit, and post-process projects created with an older version of Rover using a later version of SpatialExplorer. For instance, data collected using Rover 5.0.9 can be post-processed using SpatialExplorer 7.0.8, however, the opposite is not true - you will never be able to view data in a version of SpatialExplorer which is older than the version of Rover which the data was collected with.
Updating the version of Rover on your NavBox is quick and easy. To get started, open the version of SpatialExplorer to which you wish to update the Rover software. In this example, we will update the NavBox to run Rover 7.0.8.
First, connect the NavBox to your computer as you would during normal data collection. You can connect via a wired ethernet connection (rover-wire) or via Wi-Fi (rover-wifi), however, using a wired connection will work much faster. Click here for more information on connecting to the NavBox.
Upon connecting to SpatialExplorer, you will be notified that the version of SpatialRover differs from the version of SpatialExplorer.
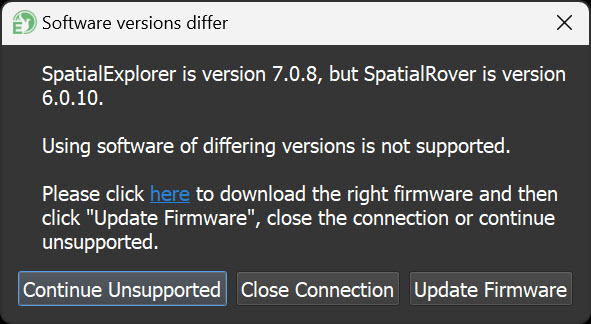
You can download the latest version by clicking on the "here" as pictured in the message box above. This will take you to your Phoenix LiDAR account page where you can download the version SpatialRover that you want to upgrade to. In this example version 7.0.8:

Click the Download link to download the firmware to your machine. With the firmware file for that specific LiDAR System downloaded on your computer, there are two methods to updating the rover. The first is faster and via any web browser. The second method via SpatialExplorer is slower. For both methods, a wired ethernet connection from the system to the computer (potentially using Ethernet-USB adapters) is vastly preferred to Wi-Fi.
Updating via Browser (fast)
Connect to the web interface via a browser. However, instead of using 192.168.20.10 or the hostname rover-wifi, you should be using a wired connection so 192.168.200.10 or rover-wire should be typed into the address bar. You can see the current version in the bottom right.

Then, click to the 'Settings' section and click the green 'Update Firmware' button. Then select the firmware file that you downloaded and click update firmware.

You will then see download and install progress bars, along with instructions. After you follow the instructions and the system is updated, it should now reflect the current version in the bottom right of the web interface.

Updating via SpatialExplorer (slow)
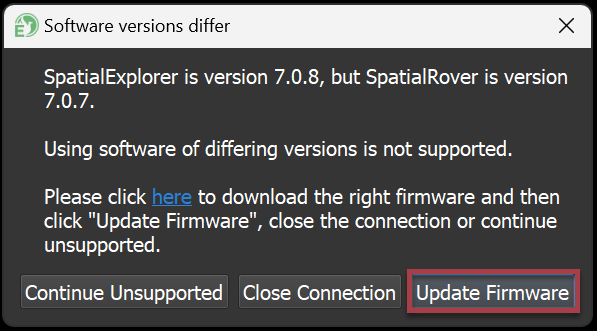
Once the firmware download has been completed from the accounts page, go back to SpatialExplorer and click the Update Firmware button.
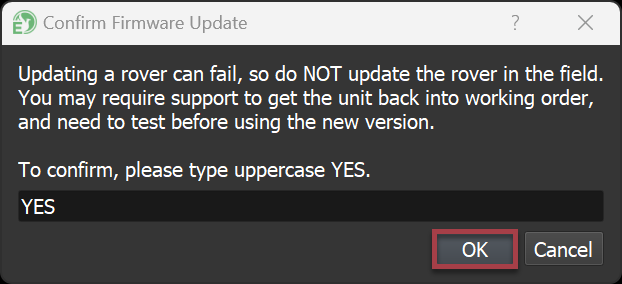
To confirm that you want to update, type "YES" in all-uppercase letters, then click the OK button.
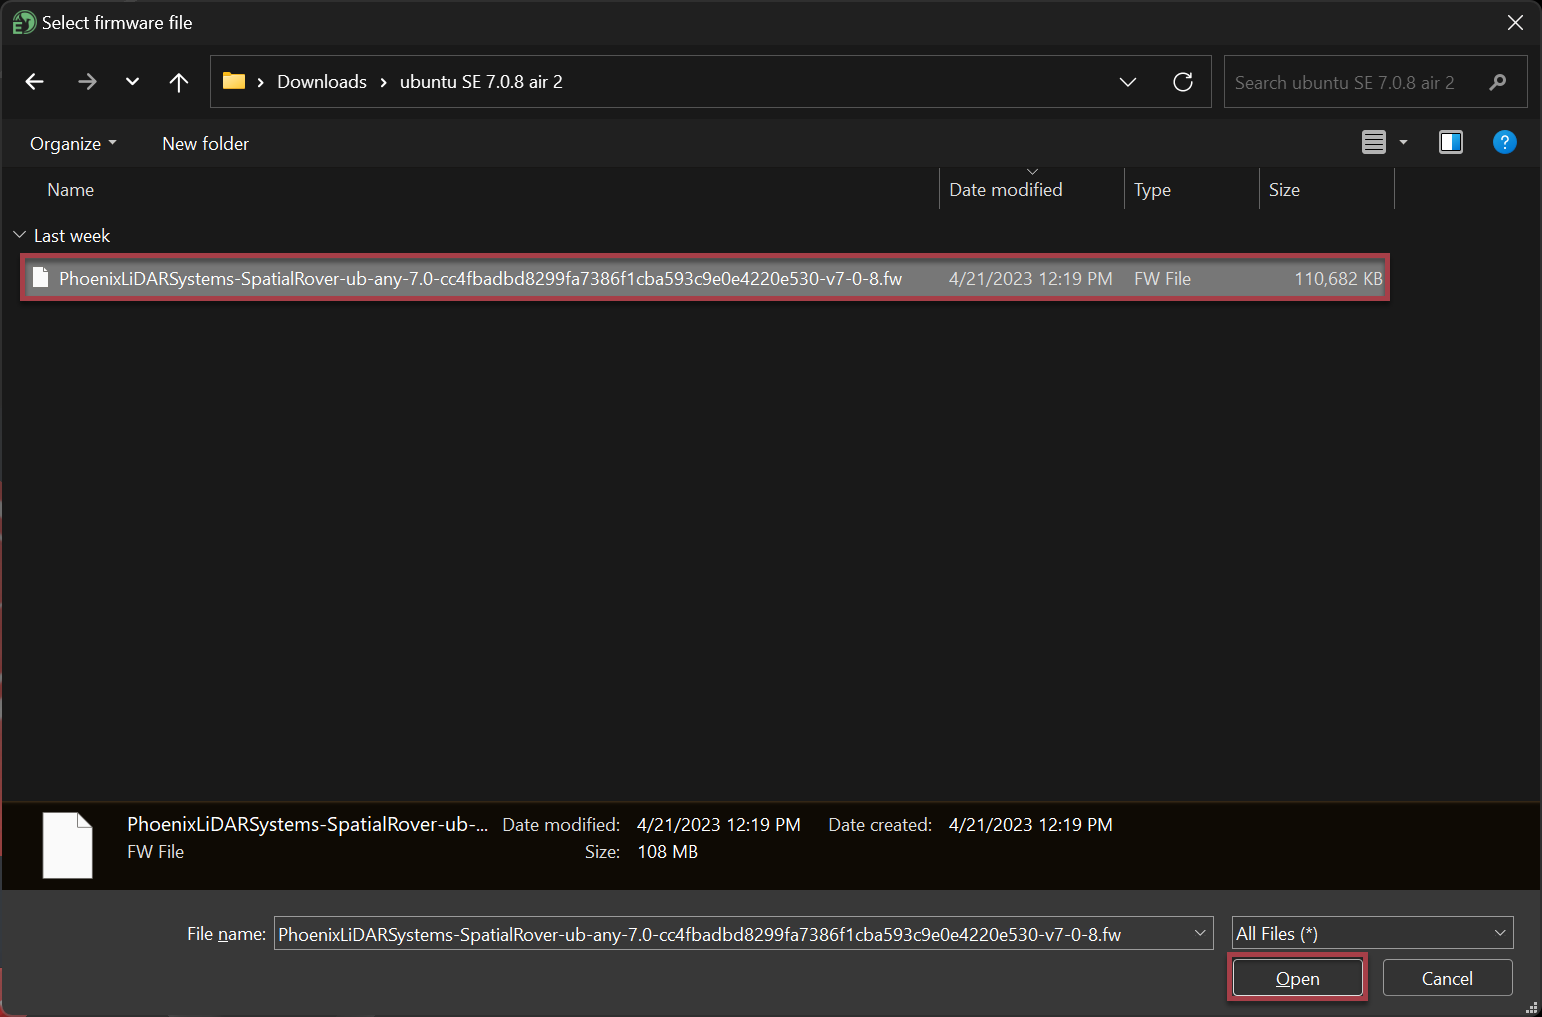
Then, select the firmware file and click the Open button.
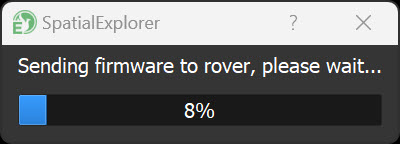
SpatialExplorer will now update Rover. Keep an eye on the messages in the bottom panel. When the update is complete, the NavBox will restart. Just leave the system on for 5 minutes after reaching 100%, then power cycle the system using the CPU button.
Last updated