User management
When you register a new account, it is required to fill in details about your company. As a result, your account will belong to that company and will be marked as an administrator account.
Inviting new company members
To invite a new company member, go to the "Users" page and open the "General" tab.
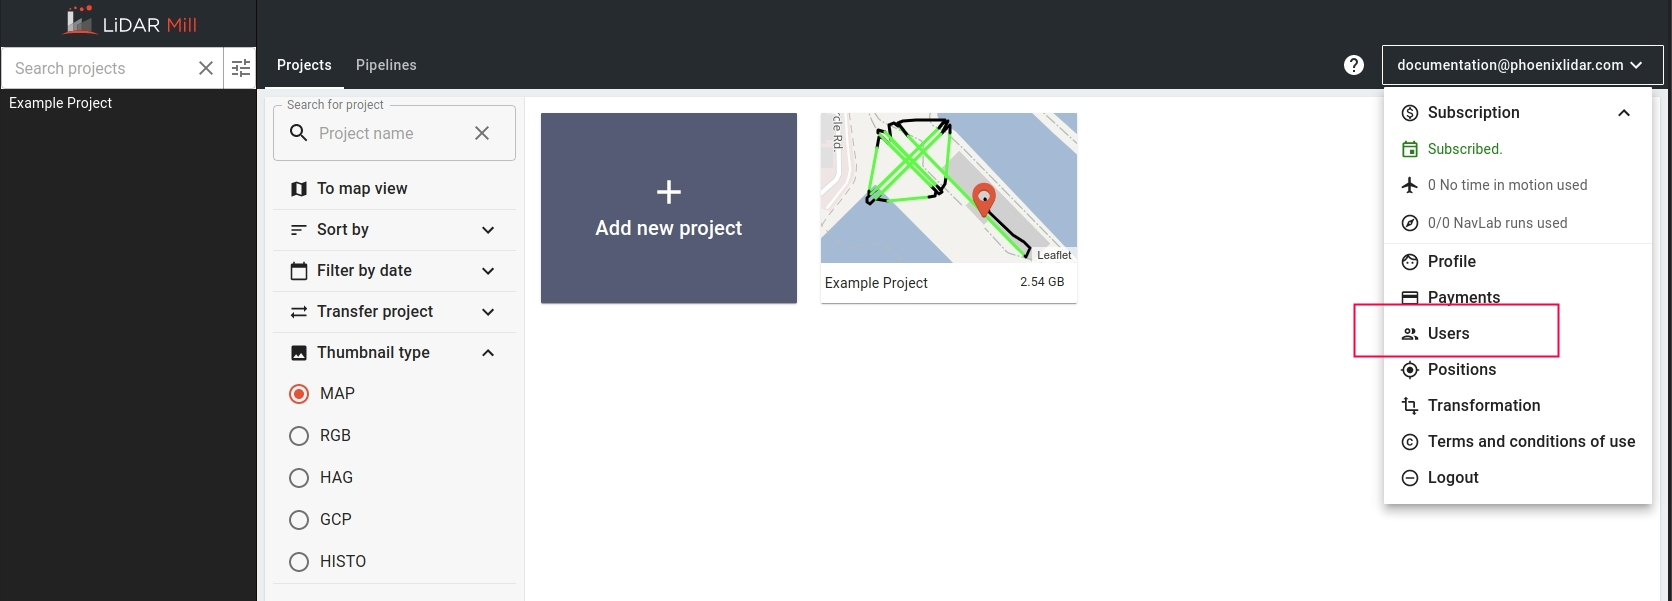
There you will be able to find the buttons for generating the invites for a "Customer" and an "Employee".

After clicking on either of them, you will be prompted to type the user email on which an invitation will be sent.
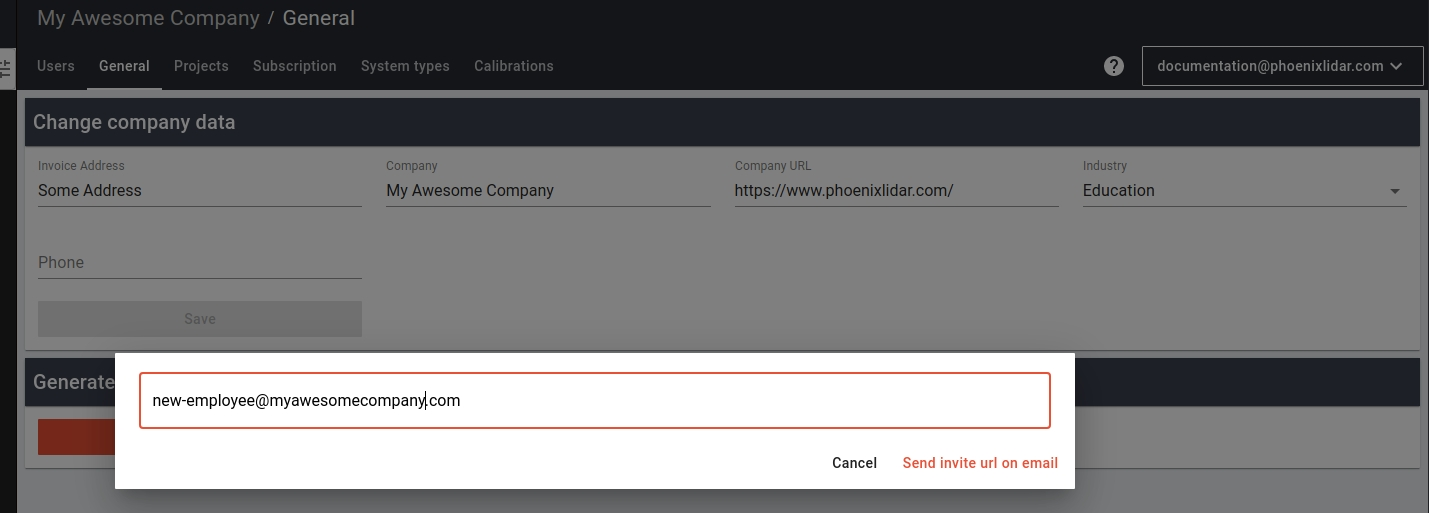
Please see the "Permissions table" for understanding the differences between the "Employee" and "Customer".
Registering the new account using an invitation
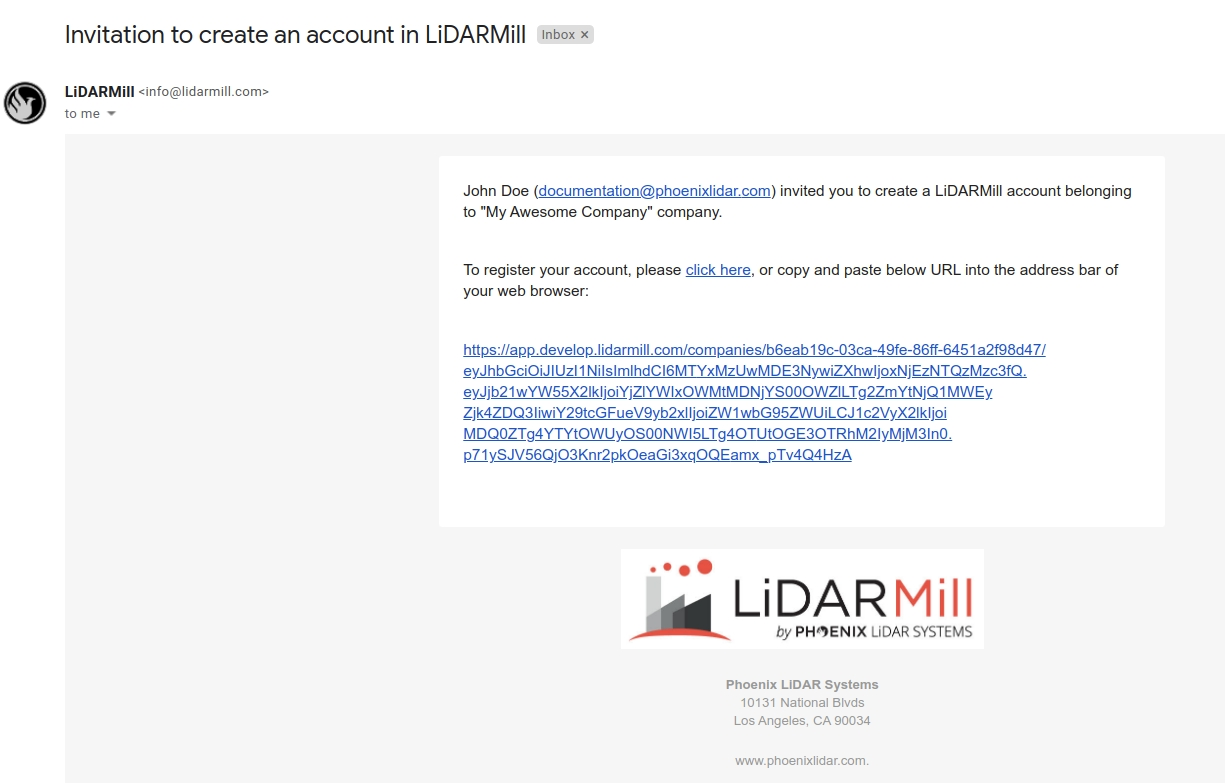
Sharing the projects with your customer
After the "Customer" was invited and registered his LiDARMill account he will see none of your companies projects before you explicitly share some.

For sharing the particular project with one of your customers go to the "Shared projects" page on LiDARMill and click on the customer you want to share the project with.


Click on the "Add permission to read selected projects" button and select the one or multiple projects you want to share with and confirm your choice.
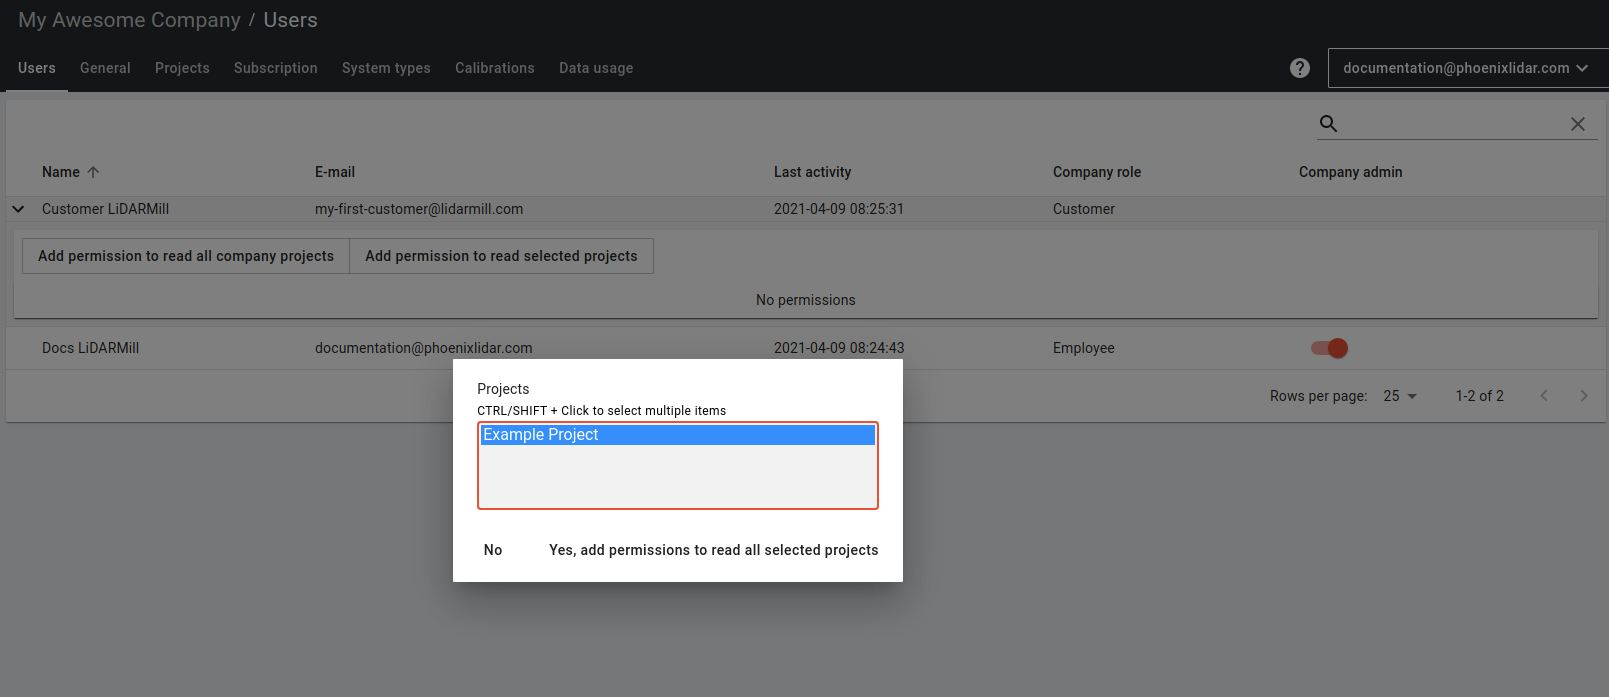
After the project is shared it will be listed in the list and you will be able to disable the sharing at any moment.
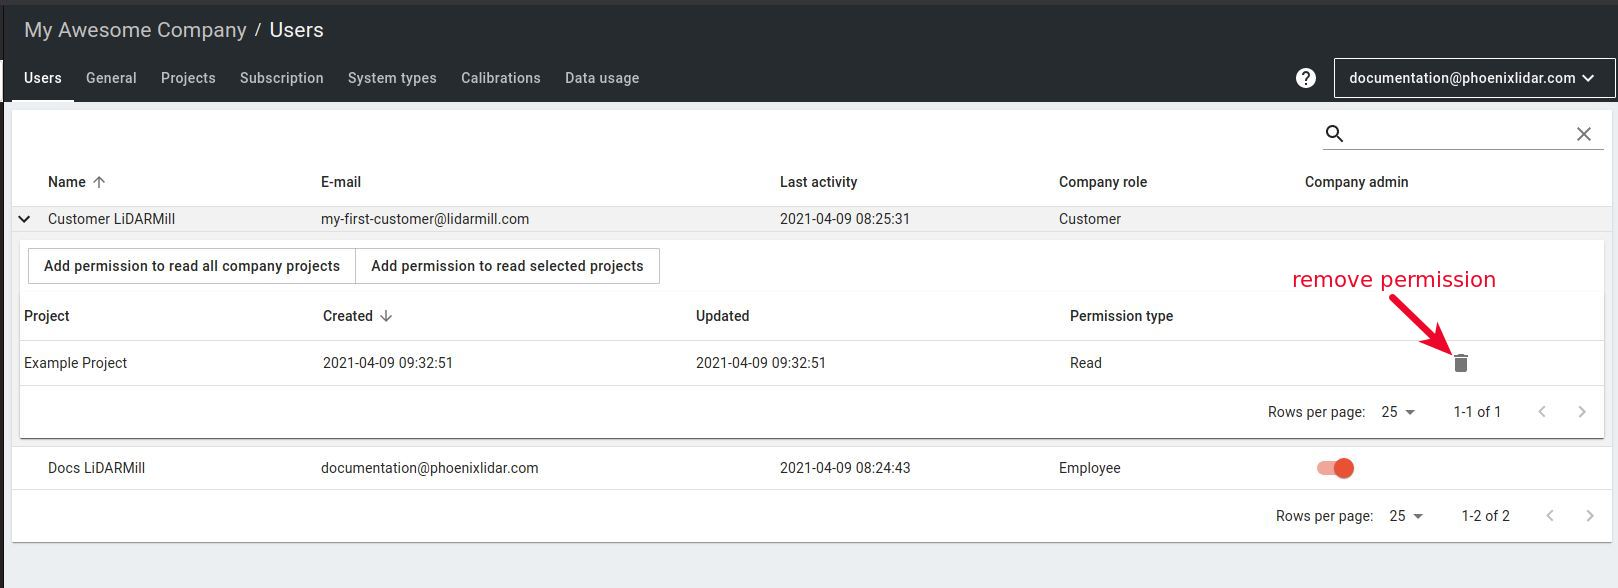
When the "Customer" was granted to read some projects they will be listed in his LiDARMill account.
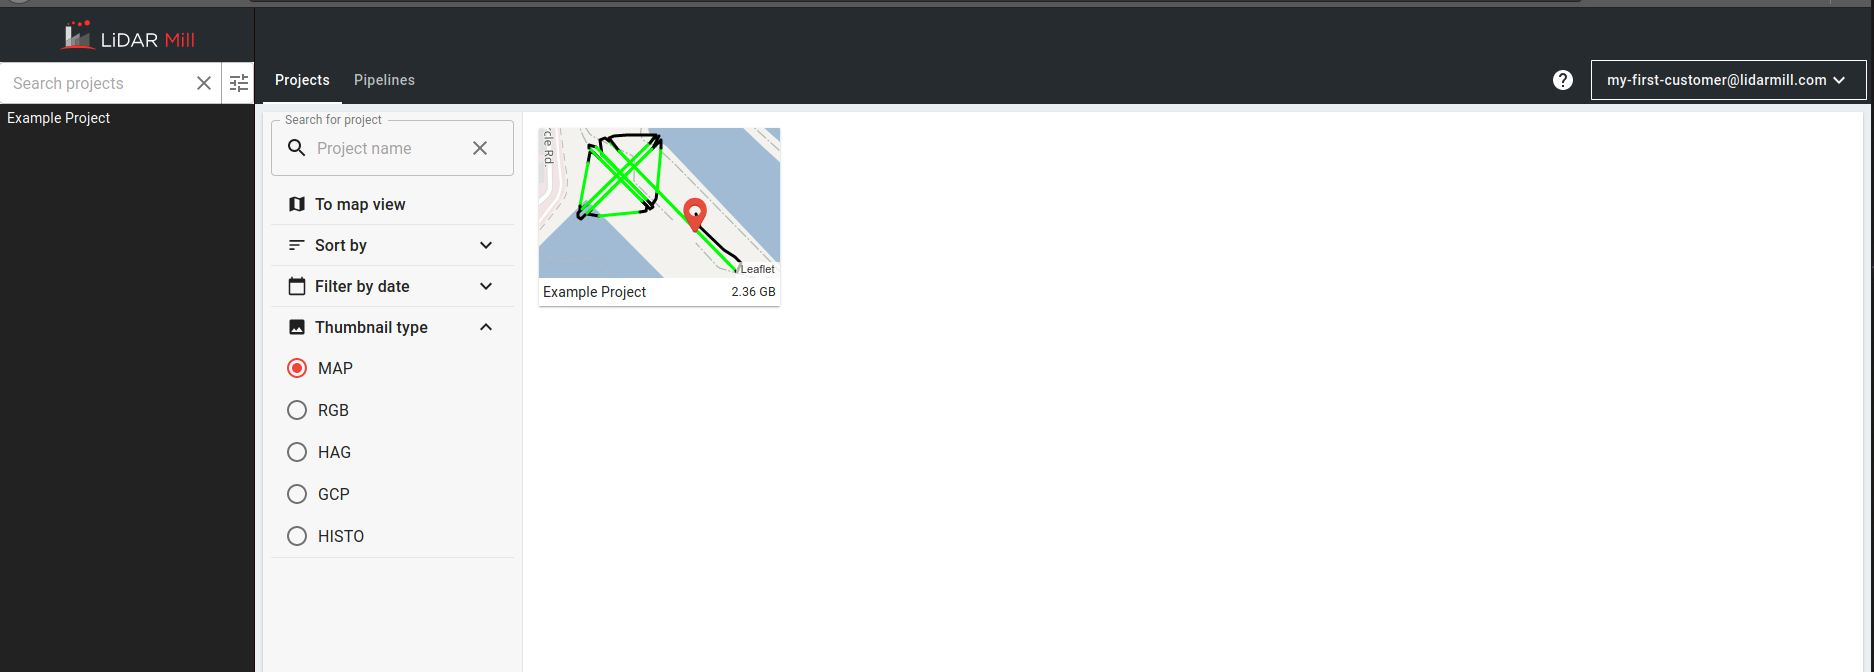
The "Customer" will be able to see all information about the shared project and download the data from it but won't be able to upload the data, start any kind of processing, edit, or remove the project.
Permissions table
The "Customer" can see and download data only from the projects what were shared with him.
Action/Role
Administrator
Employee
Customer
Invite new "Employe"
✅
❌
❌
Invite new "Customer"
✅
✅
❌
Manage the subscriptions
✅
❌
❌
Update companies details (name, URL, etc..)
✅
❌
❌
Access to projects which belong to the company
✅
✅
✅
only for projects which were shared
Process the data
✅
✅
❌
Upload the data
✅
✅
❌
Download the data
✅
✅
✅
only for projects which were shared
Last updated